XILO Forms interface on to your WodPress website easily. All you need to do is find the script and paste it in to the body of a WordPress page. Here are the steps to complete this:
1. Login to XILO

Go to dashboard.xilo.io and enter in your username and password to login to the XILO platform. You must be logged in as an Admin User to grab the script.
2. Go to Forms

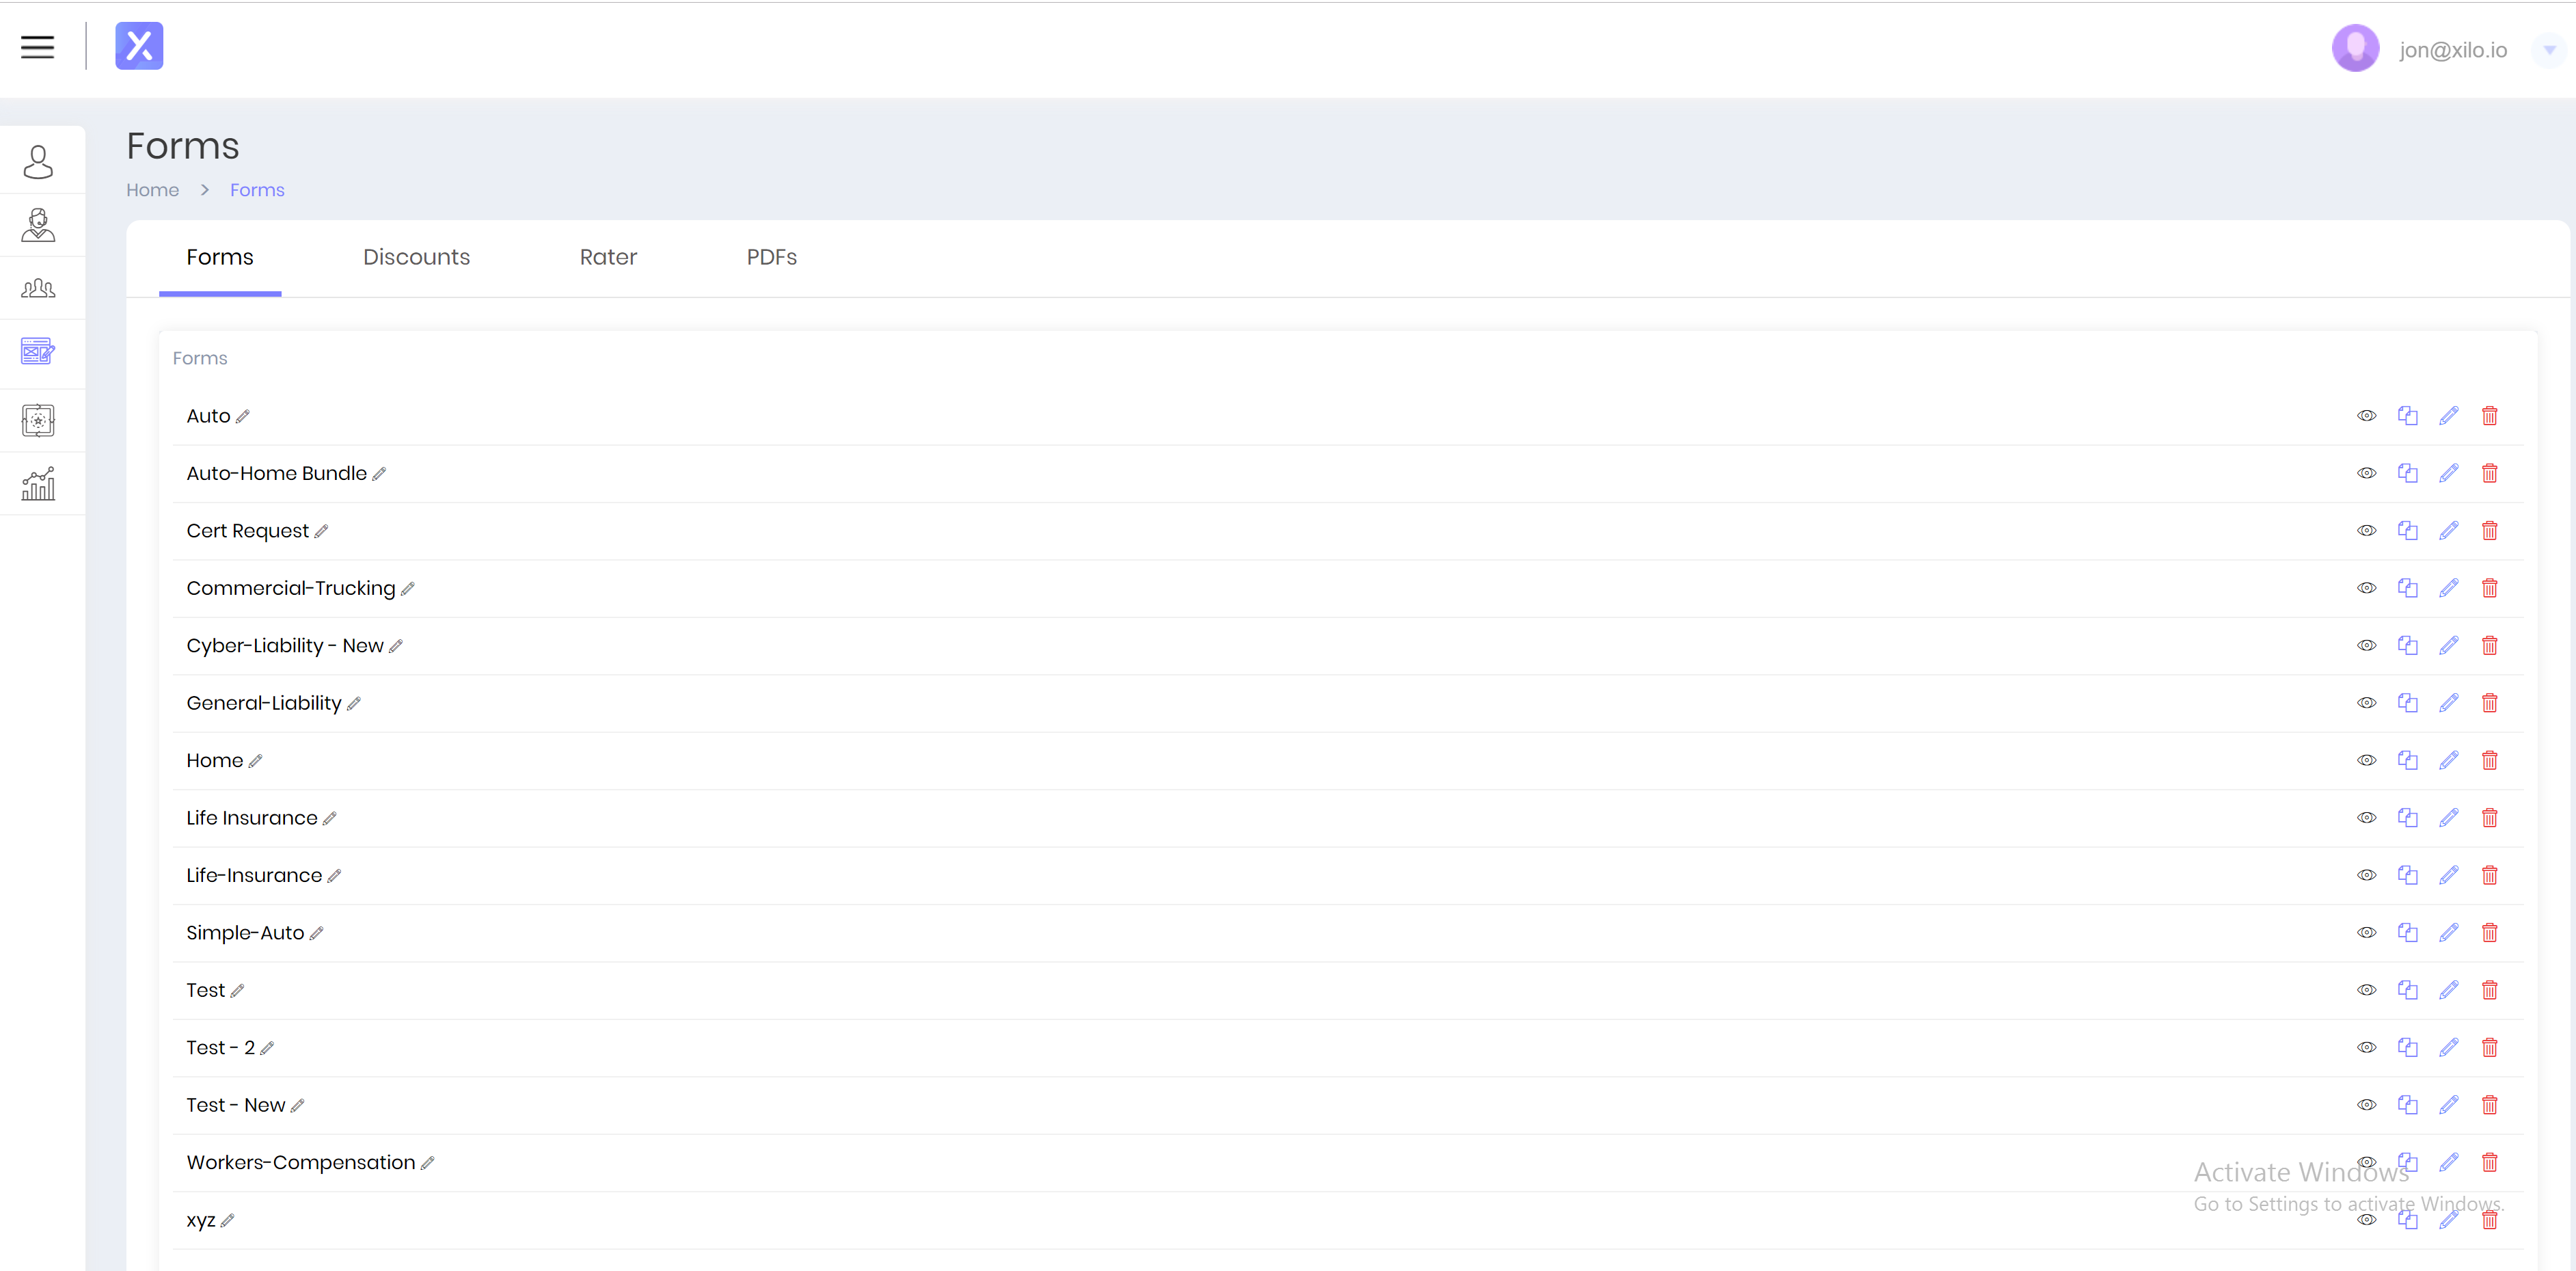
Use the side navigation bar to go to the Forms tab or go to https://dashboard.xilo.io/profile/forms directly.
3. Copy The Script

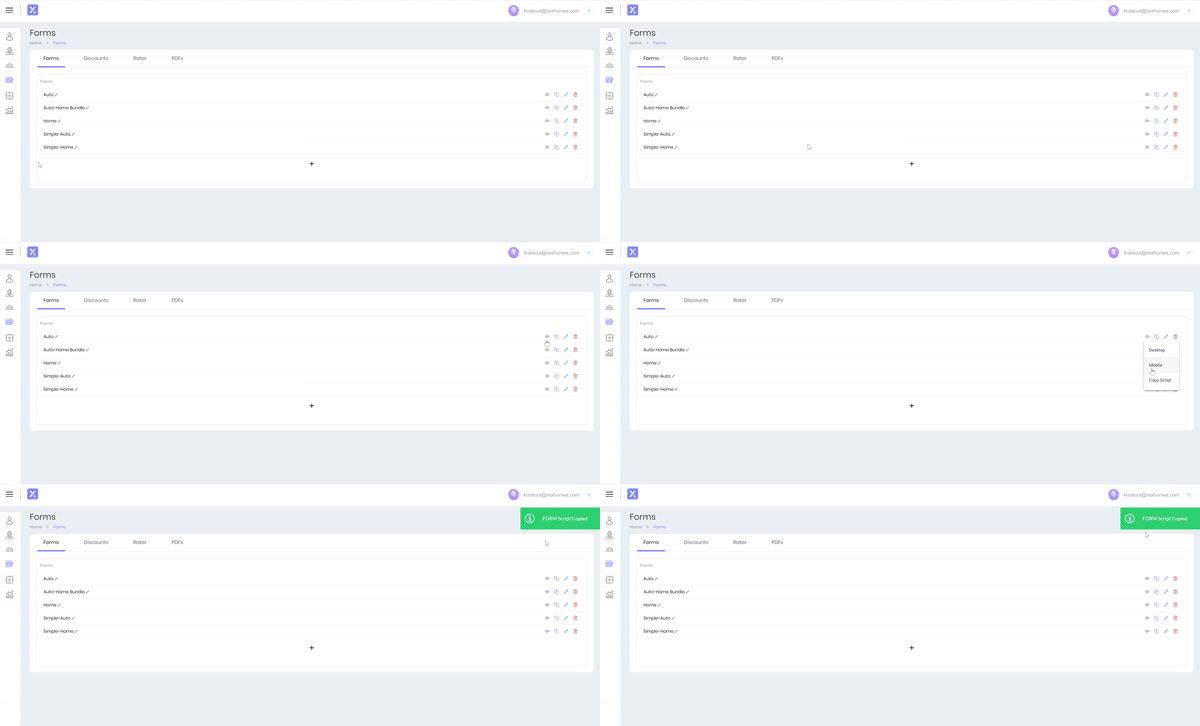
Go to the row of the form you're looking to add to your WordPress site. Click the eye icon on the right side of the row and select the "Copy Script" item in the menu. Your script is now copied automatically!
4. Login to WordPress

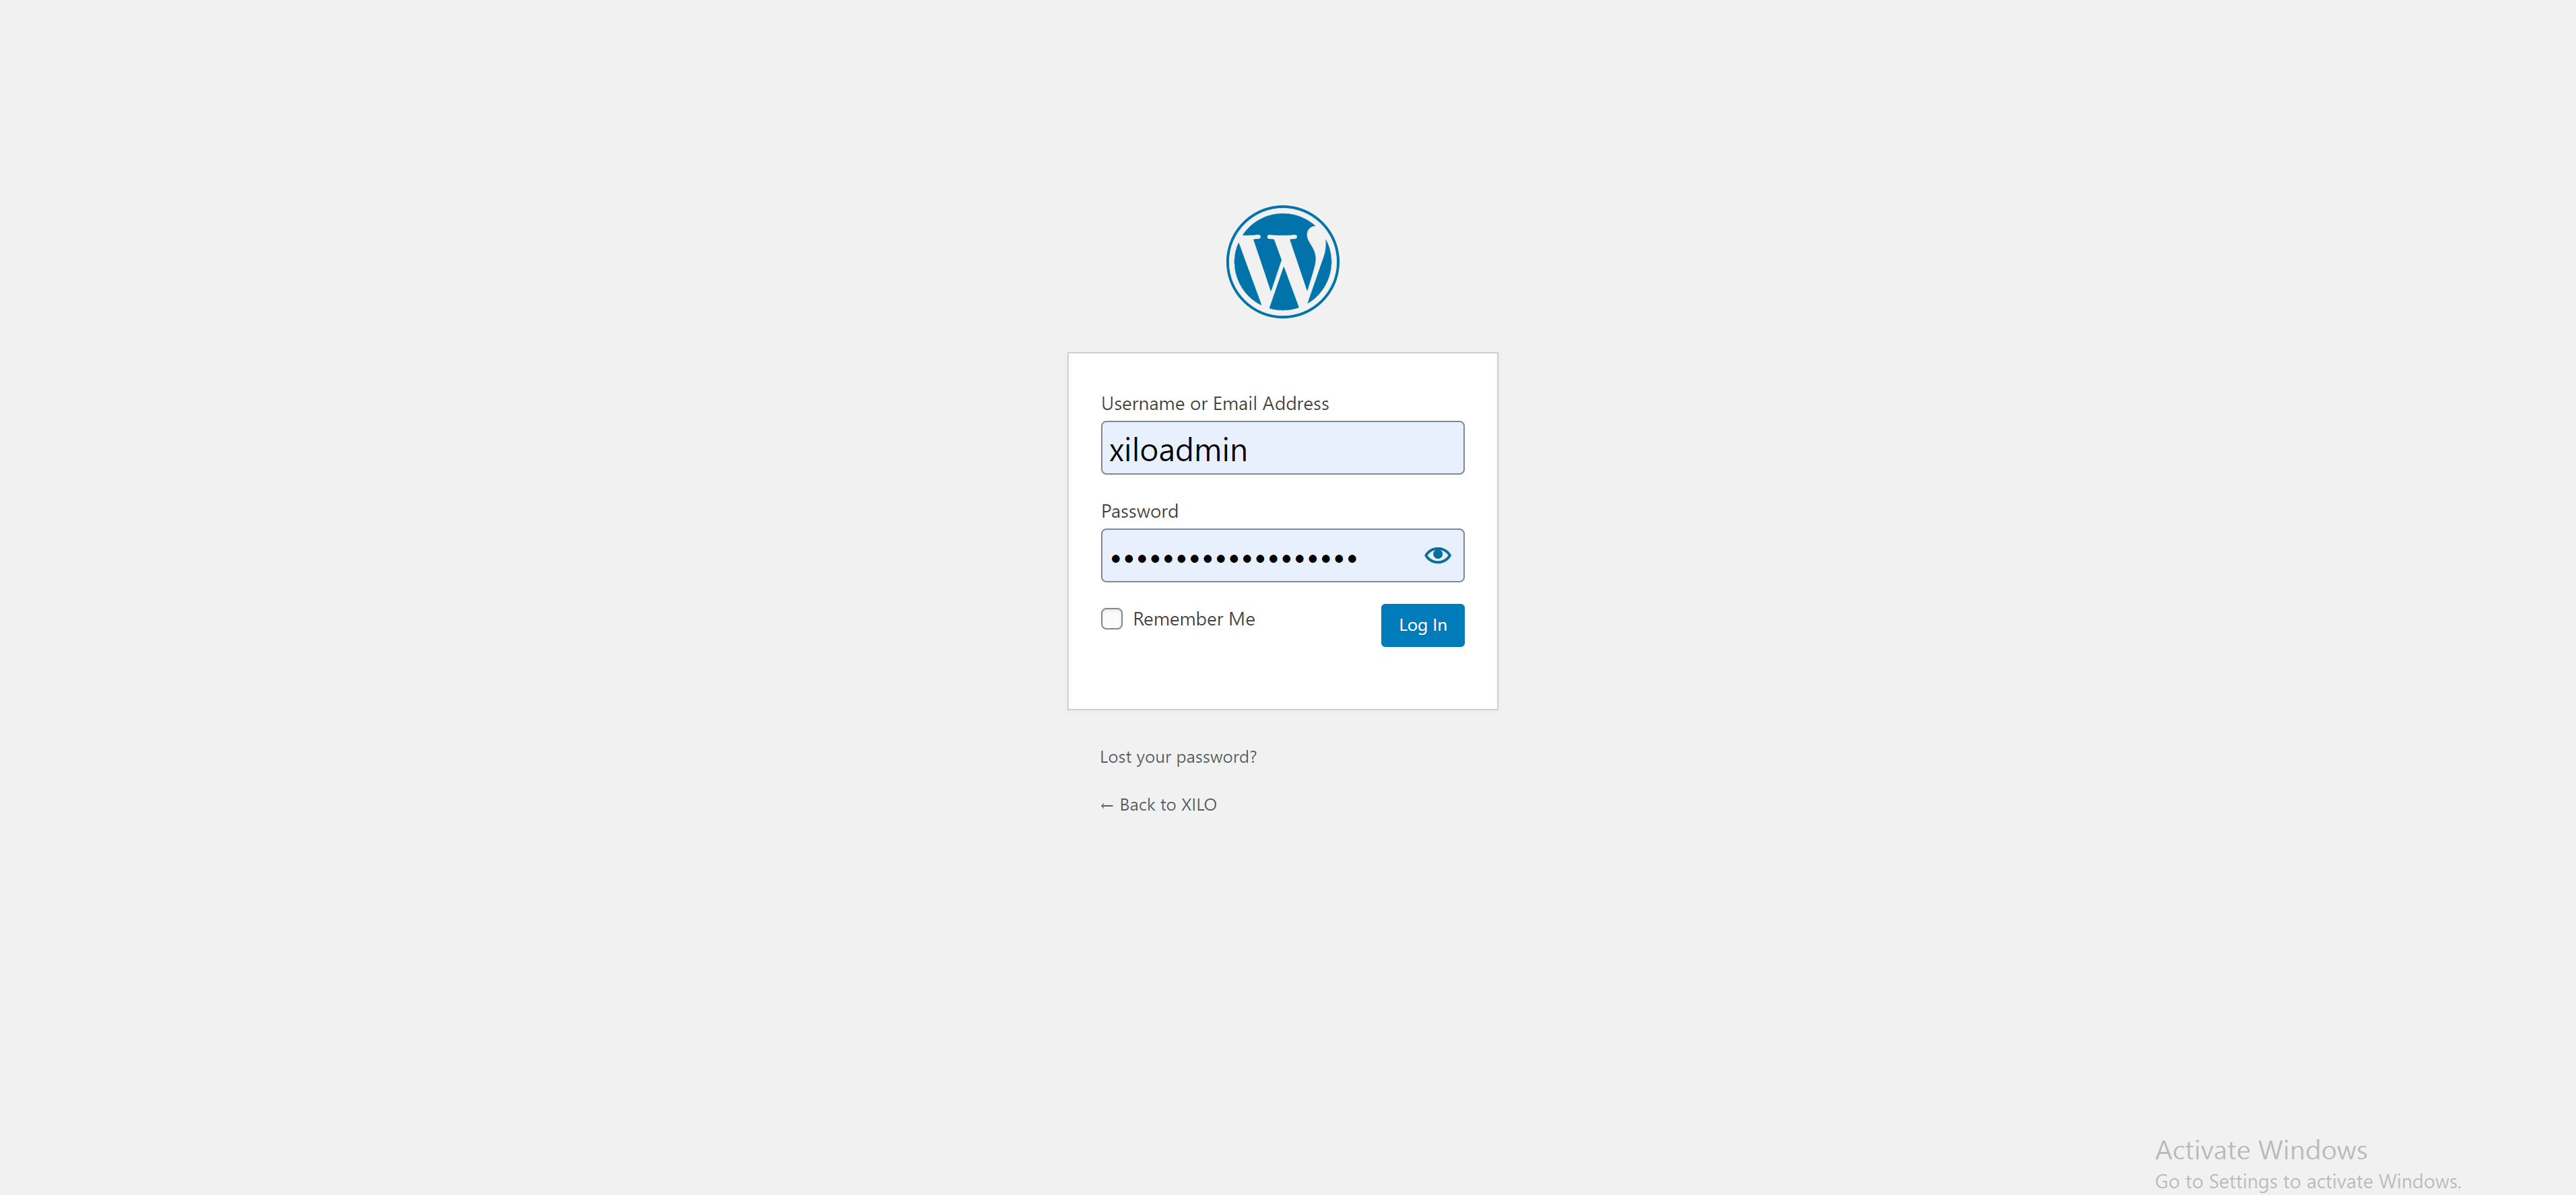
Go to your WordPress login page and login to access your WordPress account. This is usually yourwebsite.com/admin (i.e. www.xilo.io/admin)
5. Go to Pages
On the left side menu, click the pages tab and choose "All Pages" in order to access all of your pages
6. Create or Choose Your Page
Add or choose a page to add the script to. I always recommend adding new pages. This allows you to test the look and feel of the form on your website before going live with the new form.
7. Add The Script As Code
.gif)
WordPress sites are different from account to account but a lot stays the same. Figure out how to add code to the body of your page and add the XILO Form script.
In our example, we had to add a "Custom HTML" block and paste the script inside of the block.
8. Publish Your Page
Finally, use the "Update" or "Publish" button in the top right corner of the WordPress site to finish adding the XILO Form script.
Final Notes
The script uses an iframe to interface the form on to your web page. This doesn't always look right when you first add it. My recommendation is to add the script, look at the new web page, check for styling issues, report them to XILO and we'll revise the script to make it look perfect on your website!


